Safety Features
Bike IQ integrates with vehicle detection radar, tire pressure sensors, and the iPhone's own barometer to keep you informed about what is behind you, beneath you, and ahead of you.
Radar Vehicle Detection
Bike IQ pairs with rear-facing cycling radars from Garmin, Trek, Bryton, CYCPLUS, Giant, Magicshine, Magene, and Lezyne to detect vehicles approaching from behind. The radar scans continuously, and the ones that report where a vehicle sits across the road get a 2D widget that draws it there. See Supported Radars for the full list.
Threat Levels
Bike IQ works out the threat level from how far away the nearest vehicle is, using the same thresholds for every supported radar:
- Low: vehicle detected, still at a distance
- Medium: vehicle within approximately 100 meters
- High: vehicle within approximately 30 meters
Visual and Audio Alerts
A threat indicator on your ride screen shows the current danger level at a glance. An animated lane overlay draws approaching vehicles so you can see how far back they are and watch them close in. The overlay works in both landscape and portrait orientations, so it adapts to however you mount your phone.
Audio alerts sound when a new threat is detected and again when the threat clears. The audible "threat clear" confirmation lets you know a vehicle has passed without needing to look at the screen. This two-tone pattern means you can keep your eyes on the road and still maintain full awareness of traffic behind you.
Radar Setup
- Open Connect Bluetooth Sensors, from the bike you are setting up or from your profile, with the radar powered on
- When the radar appears in the list, tap it to pair
- Set where the widget sits, at the Top or on the Leading or Trailing side, under Radar
- Turn Audio Signals on or off there, and pick the threshold that decides which vehicles are worth a sound
How the widget looks and sounds is configurable in Radar Settings: which edge it sits on, whether the lane animates, and the threat level that triggers an audio signal. The update rate is fixed and needs no tuning.
Tire Pressure Monitoring
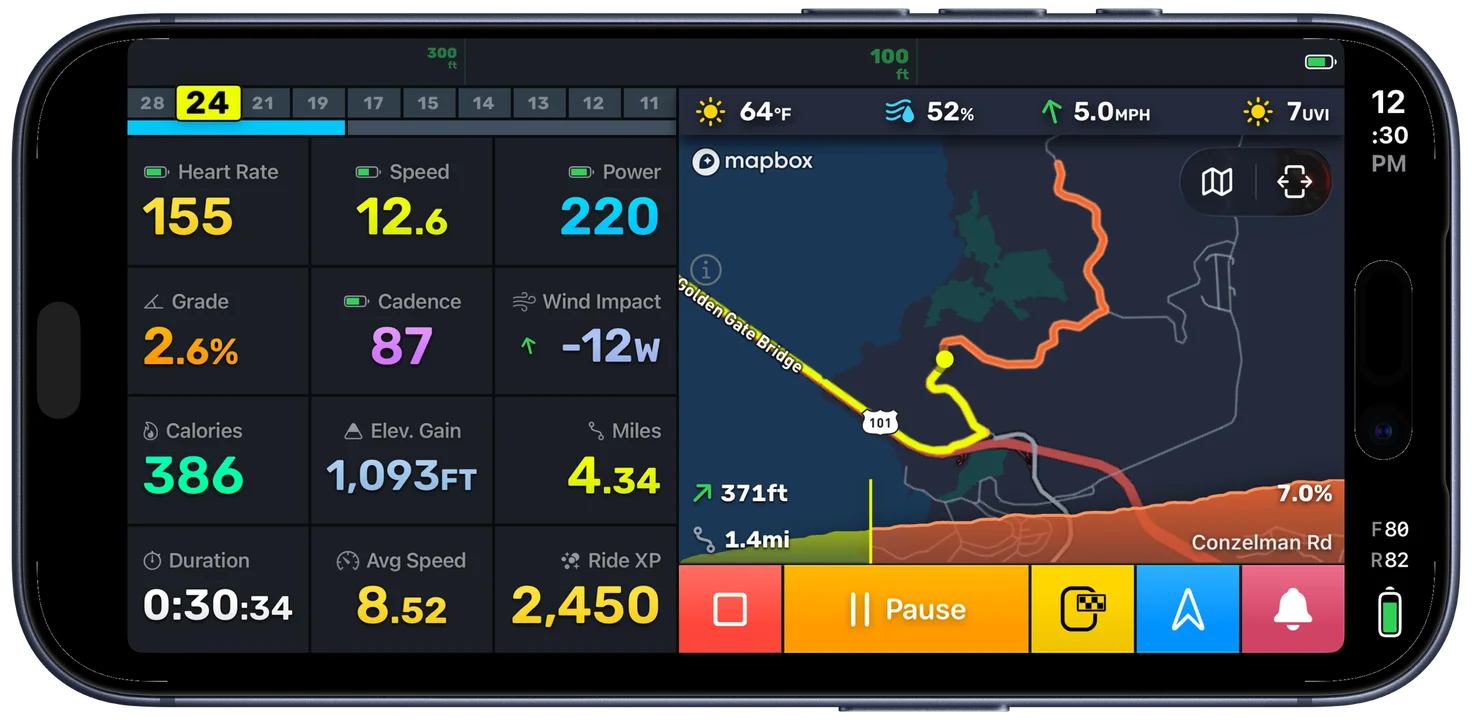
Bike IQ supports three tire pressure sensors for live readings during rides: the RideNow TPMS 1.0, the Tubolito SYNCD smart inner tube and the Quarq / Zipp TyreWiz. Front and rear sensors are assigned separately in your bike's sensor configuration, so the app always knows which reading belongs to which wheel. Because TPMS sensors pair as bike-specific sensors, front and rear pressures are tracked independently and associated with the correct bike even if you switch between multiple bikes.
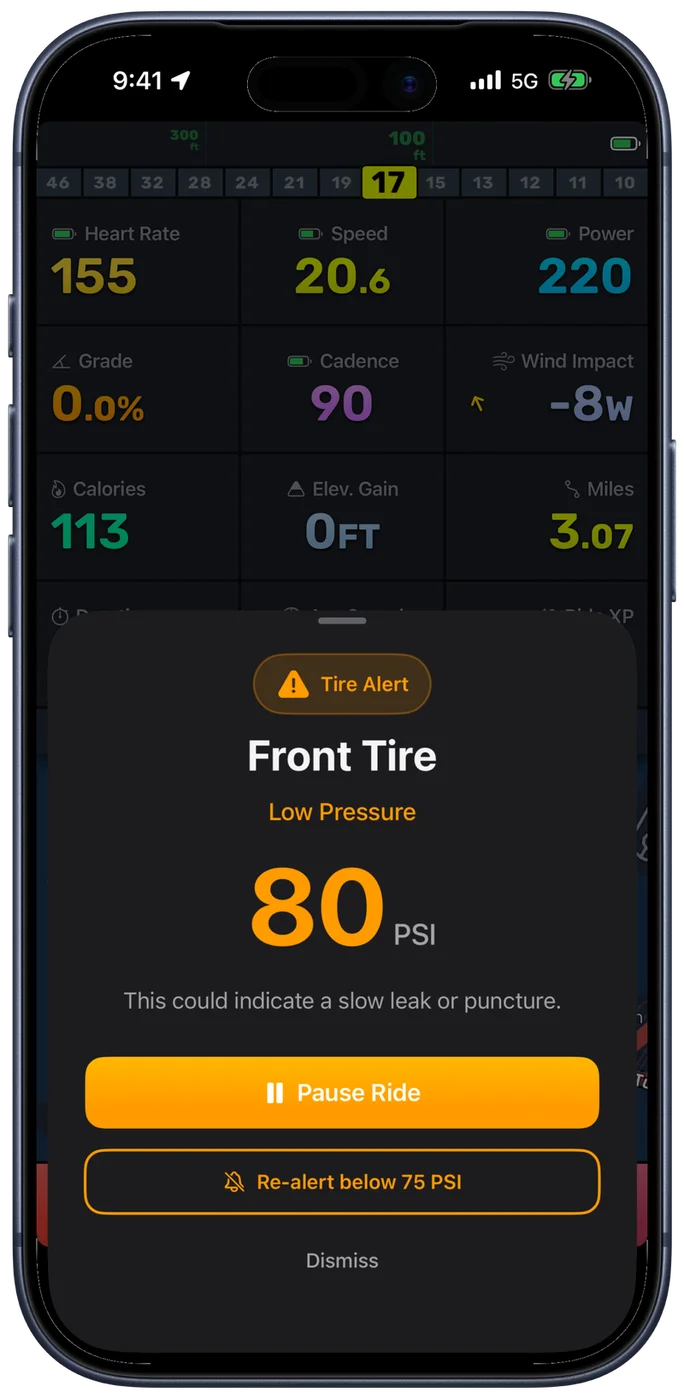
Pressure data appears on the ride screen alongside your other metrics. When a reading falls outside the expected range, an alert notifies you before a slow leak becomes a flat. The alert clearly identifies which tire, front or rear, triggered the warning, displays the current pressure, and gives you the option to pause the ride or set a re-alert threshold so you are not bombarded with repeated notifications if you choose to keep riding.
Pressure Thresholds
Pressure thresholds are configurable per bike to match the tire requirements of different setups. Road bikes typically run between 80 and 100 PSI, while gravel bikes sit in the 35 to 60 PSI range. You set these thresholds in your bike's configuration, and the app uses them to determine when a pressure reading is low enough to warrant an alert. This per-bike configuration means you do not need to adjust thresholds every time you switch bikes.
Electronic Shifting
If your bike runs SRAM AXS or Shimano Di2, Bike IQ shows your current gear position in real time. You can see which chainring and cassette cog you are in without looking down at the drivetrain, which is the point on a descent or in traffic.
Battery levels come through too, for AXS components and for a Di2 system, so you know when something needs charging before you leave rather than when it stops shifting. Pairing an AXS groupset takes a one-time handshake on the rear derailleur, described in Bluetooth Sensor Pairing.
Bike Bell
Bike IQ includes a digital bike bell you can trigger by tapping the bell button or using a palm gesture over the screen for hands-free activation. The bell sound is configurable in Settings.
The real advantage is the speaker override. When you are wearing headphones, the bell automatically plays through the phone's built-in speaker so pedestrians and other cyclists actually hear it. Your music or podcast continues normally through your headphones without interruption. After the bell finishes, the audio session restores seamlessly.
Climb Detection
Climb detection needs Bike IQ Pro. Radar, tire pressure, the bike bell and live gears are all free.
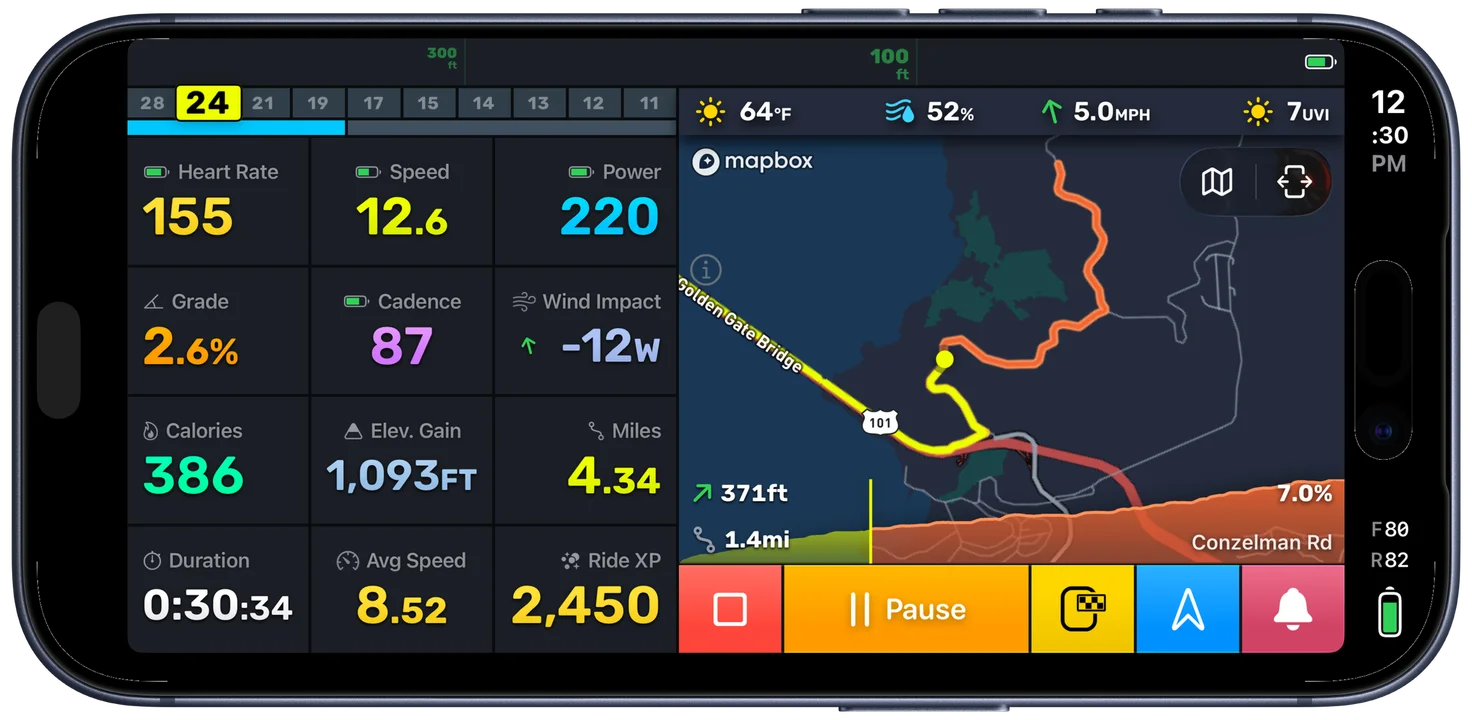
Your live grade comes from the iPhone's barometer, smoothed enough to be stable without lagging behind the road. See Grade Detection for how that reading is taken. Climb detection is the other half: it looks at the road you have not reached yet.
What the Climb-Ahead Overlay Shows
When Bike IQ detects a qualifying climb on your route ahead, an elevation profile overlay appears on the map with four key pieces of information:
- Gradient percentage: the average grade of the upcoming climb, so you know how steep it is
- Total climb distance: how long the climb lasts, measured along the road
- Elevation gain: the total vertical meters you will gain from bottom to top
- Road name: the name of the road where the climb occurs
The climb route is also highlighted on the map as an orange polyline, so you can see exactly where the climb begins and ends. This gives you a complete picture of the effort ahead: a short, steep ramp requires different gearing and pacing than a long, gradual ascent, and the overlay tells you which one you are about to face.
How Far Ahead It Detects
Bike IQ reads the terrain of the road in front of you from its own map data, so this does not need a route. On a free ride it works out the road you are most likely to stay on and reads that. Normally it looks about 3 km ahead, and once there is real terrain in view it reaches much further, up to around 25 km, because a climb whose summit it cannot see is a climb it cannot count down to.
Finding a climb early and shouting about it early are different things. A climb is picked up long before you reach it, and the climb card comes up once you are within about 500 m of its start, which is when the information is worth acting on: time to shift, settle your cadence, eat or drink, and know what you are riding into.
What Qualifies as a Climb
Not every uphill. A rise has to clear both an elevation gain and an average grade to count, and those are yours to set: the categories run from Cat 4+ at 80 m and 3% up to HC Only at 800 m and 6%, or you can set the two numbers yourself. A speed bump or a freeway overpass never qualifies. See Map & Routes for the full table.
Climb Progress
Once you are on a detected climb, the card turns from a preview into a live readout: how far you have come, how much is left, and how much of the elevation you still owe. On a long climb that is hard to judge by eye, which is exactly where riders go too hard too early.
When the Map Reacts
Auto Switch to Climb Mode, under Map & Routes then Climb Detection, decides what the map does when a climb starts. On, it stops following you and repositions to show the whole climb. Off, it stays with you and only zooms out briefly. Either way the climb is drawn on the map as an orange line, so you can see where it begins and ends.
Climb Detection can also be turned off outright on that screen, if you ride roads you know and would rather not be told about them. Your live grade on the ride screen is a separate reading from the barometer and keeps working either way.
Putting It Together
None of these features require your attention to set up during a ride. Pair your sensors once, configure your preferences, and everything runs automatically from the moment you tap Start Ride. Radar watches behind you, tire pressure monitors beneath you, climb detection looks ahead, and the bell is always a gesture away.
Related Guides
- Supported Radars: every radar Bike IQ pairs with and what each one reports
- Bluetooth Sensor Pairing: connect radar, TPMS, AXS, and other cycling sensors
- Recording a Ride: how safety features appear on your ride screen
- Settings and Customization: configure radar position, alert sounds, climb view, and bell options