Map & Routes
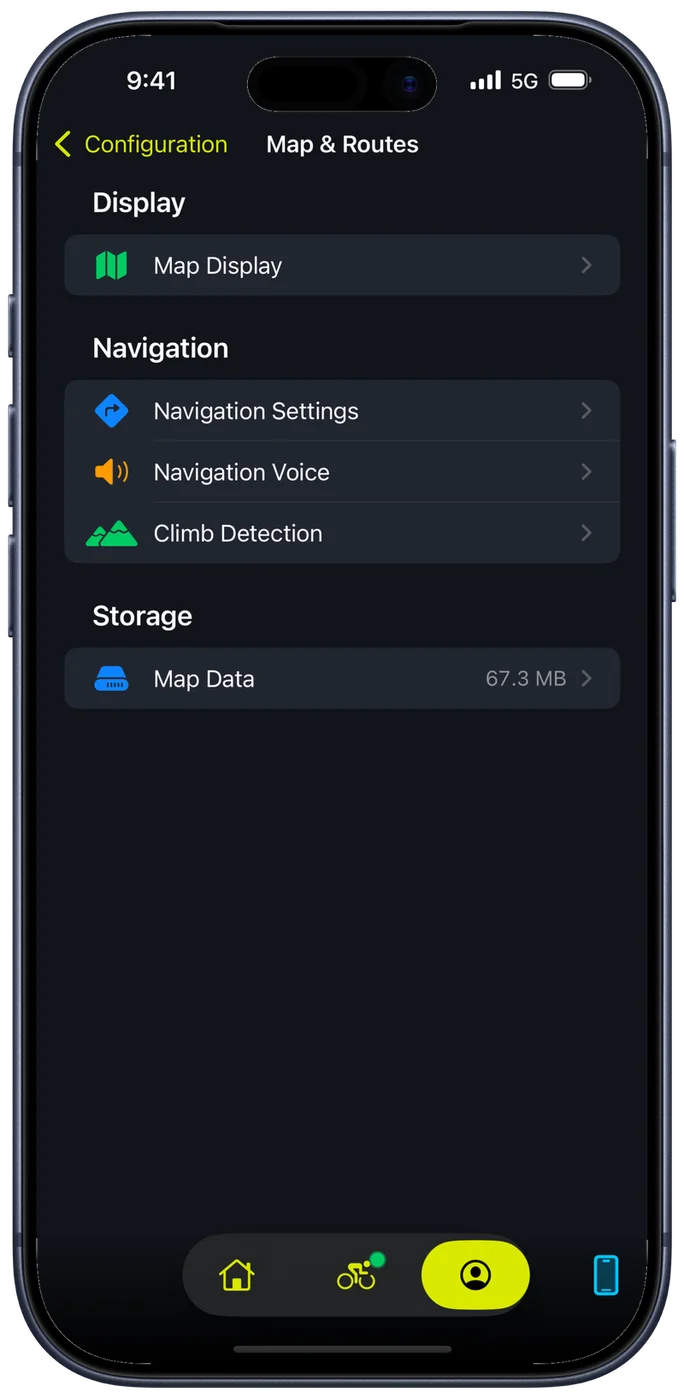
Map & Routes settings control how the map looks while you ride, how navigation behaves, and how Bike IQ stores map data for offline use. The screen has three groups: Display holds Map Display, Navigation holds Navigation Settings, Navigation Voice and Climb Detection, and Storage holds Map Data.
Map Display
Map Display controls what appears on the ride map. Because Bike IQ draws its own cycling map, the defaults are tuned for riding: quiet roads stay visible as you zoom out, and the points of interest are the ones that matter on a ride.
- Road Labels: street and road names on the map. Essential if you navigate by street name, unnecessary if you follow the route line.
- Points of Interest: amenities and places on the map. This is on by default, and you can choose which categories to show (see below).
- Prefer English Names: on by default. Where the map carries an English name for a road or place, it is shown instead of the local-script one. Anything without an English name keeps its own, so nothing disappears. Turn it off to read the map exactly as the locals do.
- Live Labels: two on-screen labels that track where you are: Current Road shows the road you are riding on, and Current Town shows the town or city. Turn either off for a cleaner screen.
Points of Interest and Amenities
Bike IQ's map carries the amenities a rider actually looks for, not a generic set built for drivers. Points of interest are shown by default, with a sensible set of categories already on, so water, toilets, food, and bike shops are there when you go looking for them mid-ride. The category list underneath lets you show only what is useful to you, and each category has its own icon on the map:
- Drinking water, toilets, and food & drink
- Bike shops and bike services
- Groceries, fuel, and lodging
- Camping and scenic spots
- EV charging, health, and transit
Leave the categories you care about on and switch the rest off to keep the map uncluttered. Finding a refill or a rest stop no longer means leaving the app.
Climb Detection
Climb detection is part of Bike IQ Pro.
Climb detection decides which rises on the road ahead count as a climb, so the map can flag them and switch to Climb Mode. Tune it to match the riding you care about:
Under Thresholds, Climb Detection turns detection on or off, and Minimum Category sets how big a rise has to be before Bike IQ calls it a climb. The categories are the ones racing uses, and each one is a pair of numbers:
| Minimum Category | Counts as a climb | What it means |
|---|---|---|
| Cat 4+ | 80 m at 3% | All categorized climbs |
| Cat 3+ | 160 m at 3% | Moderate to major climbs |
| Cat 2+ | 320 m at 4% | Significant climbs |
| Cat 1+ | 640 m at 5% | Major climbs only |
| HC Only | 800 m at 6% | Epic climbs only |
Picking a category moves the two sliders under it, and moving either slider by hand switches the picker to Custom, so you are never left with a category label that does not match the numbers:
- Min Elevation: the vertical gain a climb must have before it is flagged. Raise it to filter out short ramps that are over in seconds.
- Min Grade: the average gradient a section needs to count, from 1% to 10%. Higher values flag only the steep stuff.
- Include Rolling Hills: on, every bit of elevation gain counts even with descents in between, which suits hilly terrain. Off, only sustained climbs without significant descents are detected.
Under Camera, Auto Switch to Climb Mode decides how the map reacts when a climb starts. On, it stops following you and repositions to show the whole climb. Off, it keeps following you and only zooms out for a moment, which is the gentler option if being repositioned mid-effort bothers you.
Navigation
Navigation Settings controls what you see while following a route. Navigation Voice, which picks the voice that reads your turns, sits beside it in the same group and has a guide of its own.
- During Navigation holds Route Elevation Profile, which draws the route's elevation profile on screen while you follow it and zooms into each climb as you come up to it, so you can see how much of the climb is left rather than just that there is one.
- Route Duration Estimation is a single Average Power figure in watts: the power you typically hold on a ride. Bike IQ estimates how long a route will take from that, together with its distance and its elevation, so a flat route and a mountainous one of the same length get very different answers. If you have set an FTP, the screen suggests values from it: roughly 60% of FTP for an easy pace, 70% for endurance and 80% for tempo.
Map Data and Offline Storage
Bike IQ serves its own cycling map and downloads it to your device as you ride, so the map, routing, and the elevation of the road ahead keep working without a signal. The Map Data screen shows how much space that uses and lets you manage it.
- Usage: Storage used in total, split into Maps and Routing data, so you can see which of the two is actually taking the space.
- Saved routes and Cached areas: how many routes you have kept for offline use, and how many areas have been cached as you rode through them.
- Cleanup: two ways to free space, Clear cache except current area and Clear all cache. Saved routes are always kept either way, so this never costs you a route.
You rarely need to touch this. Map and routing data download automatically as you ride into new areas, and Bike IQ removes the oldest cached areas on its own to keep storage in check. See Navigation and Routes for how offline riding works end to end.
Related Guides
- Map Display: ride map features, camera modes, and real-time overlays
- The Road Ahead: the elevation and grade of the road in front of you
- Navigation and Routes: route following, turn-by-turn navigation, and offline riding